PRATT 3-D DESIGN FALL 2016
SEPTEMBER 27
· Morning
- Sections due (2 copies of each section)
- Demo on connecting section
- Work in class on connecting sections
· Afternoon
- Continue work on connecting sections
· Homework:
- Complete planar constructions (PART C.)
- Bring to following materials to next class:
- your finished planar constructions for CRITIQUE
- your second set of Bristol templates
- a list of 10 words that describe traits of your animal (examples: delicate, fragile, soft, vulnerable, graceful, etc.)
- at least 5 different types of paper that demonstrate those traits (examples: 1. Japanese fibrous paper, 2. tissue paper, 3. wax paper, 4. antique newspaper, 5. air mail envelopes)
- xacto knife
- glue
- scissors
- foam core (not required but you may want to use it again)
- string
OCTOBER 4
- CRITIQUE: PART C OF Project 1 (completed planar constructions with spacers)
- Introduction to Part D - Slide show: Paper cuts
- PART D OF PROJECT 1: Second Form / Secret Life
- Work in Class on samples and experiments for PART D
· Homework Assignment
- Complete Part D (final iteration) for Critique after Break
- Process books will be graded on October 25th
- Reading: One Train May Hide Another
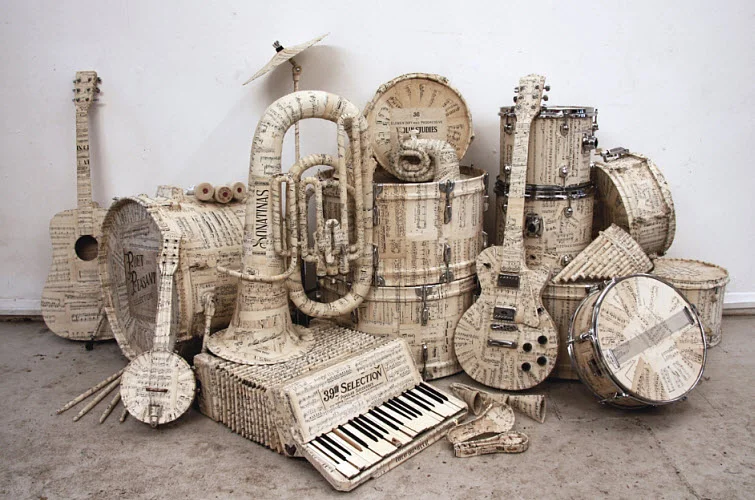
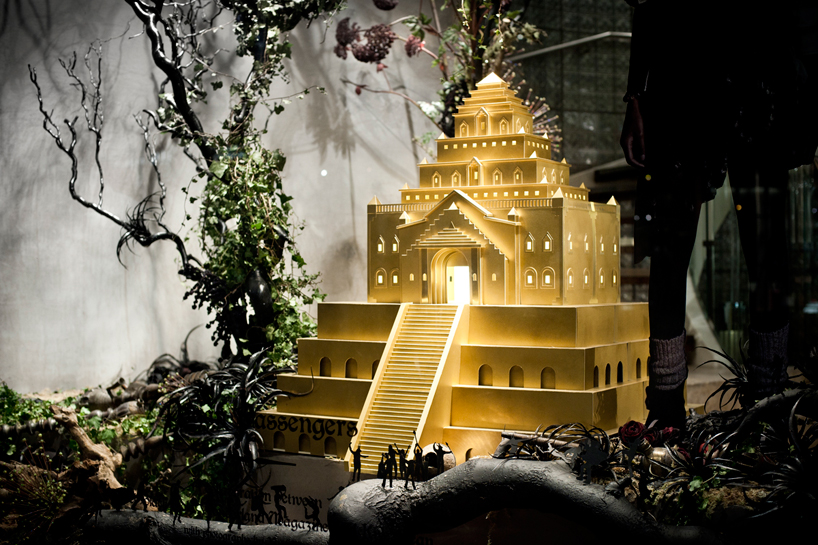
Some examples for your consideration when designing PART D:


·
OCTOBER 11
MID TERM BREAK - NO CLASS. Be working on your final iteration of Project 1. (Part D)
To class on the 18th, bring your wire working tools (<< click for pic, but you need: standard pliers, long nose pliers, and wire snips) and *wire (<< click for pic, but you'll need 18 gauge galvanized steel wire, between 50 and 100 feet of it, based on your design. Dick Blick carries it, but the one near Pratt was out when I called on Thursday, so you'll want to check with them, try another Blick, go to Home Depot, order it on Amazon, or go to another hardware store. It is pretty standard stuff, but don't wait until Tuesday morning to find it.)
OCTOBER 18
· Morning
o CRITIQUE of PROJECT 1: PART D (Final iteration)
· Afternoon
- Introduction to PROJECT 2
- Demo on Wire handling and tools
· Homework Assignment
- Here's a link to more wire techniques.
- Make a simple mug or tea cup that demonstrates your wire handling skills
- Make 3 actual size cut-out silhouettes (from three different perspectives) of the form of your "memory receptacle" in brown paper (available in woodshop)
- Have completed 10 Wire handling techniques in class
- Process Book will be reviewed next class, please bring it.
- Bring wire working tools and wire to next class
OCTOBER 25
· Morning
o Silhouettes for PROJECT 2 due
o Wire handling samples due
o Process Book due
o Work in class on forms
· Afternoon
o Work in class on forms
o Midterm grades emailed
· Homework Assignment:
o TBA
NOVEMBER 1
- · Morning
- Quiz : Vocabulary A - M (become familiar with terms A - M on this list. Quiz will be multiple choice.)
- Soldering Demonstration
- Afternoon
- 3 - D Wire and Clay compositions
· Homework Assignment
- Complete your Wire Memory Receptacle for CRITIQUE next week
o Bring the following plaster-working materials and tools to class:
- 1 very clean gallon sized bucket
- 1 quart sized bucket or large plastic cup
- 1 sheet wet/ dry sandpaper
- 1 "Sure Form Shaver"
- latex gloves
- dust mask
- 1/2 gallon milk carton, empty (not a bottle, a carton)
Be sure to wear or bring studio clothes to class - clothes you don't mind getting dirty
**Extra Credit if you're unhappy with your quiz grade**
For each question you got wrong, submit an image of a three dimensional object or composition that demonstrates that definition. I'll give you points for each one you submit. DUE: November 15th
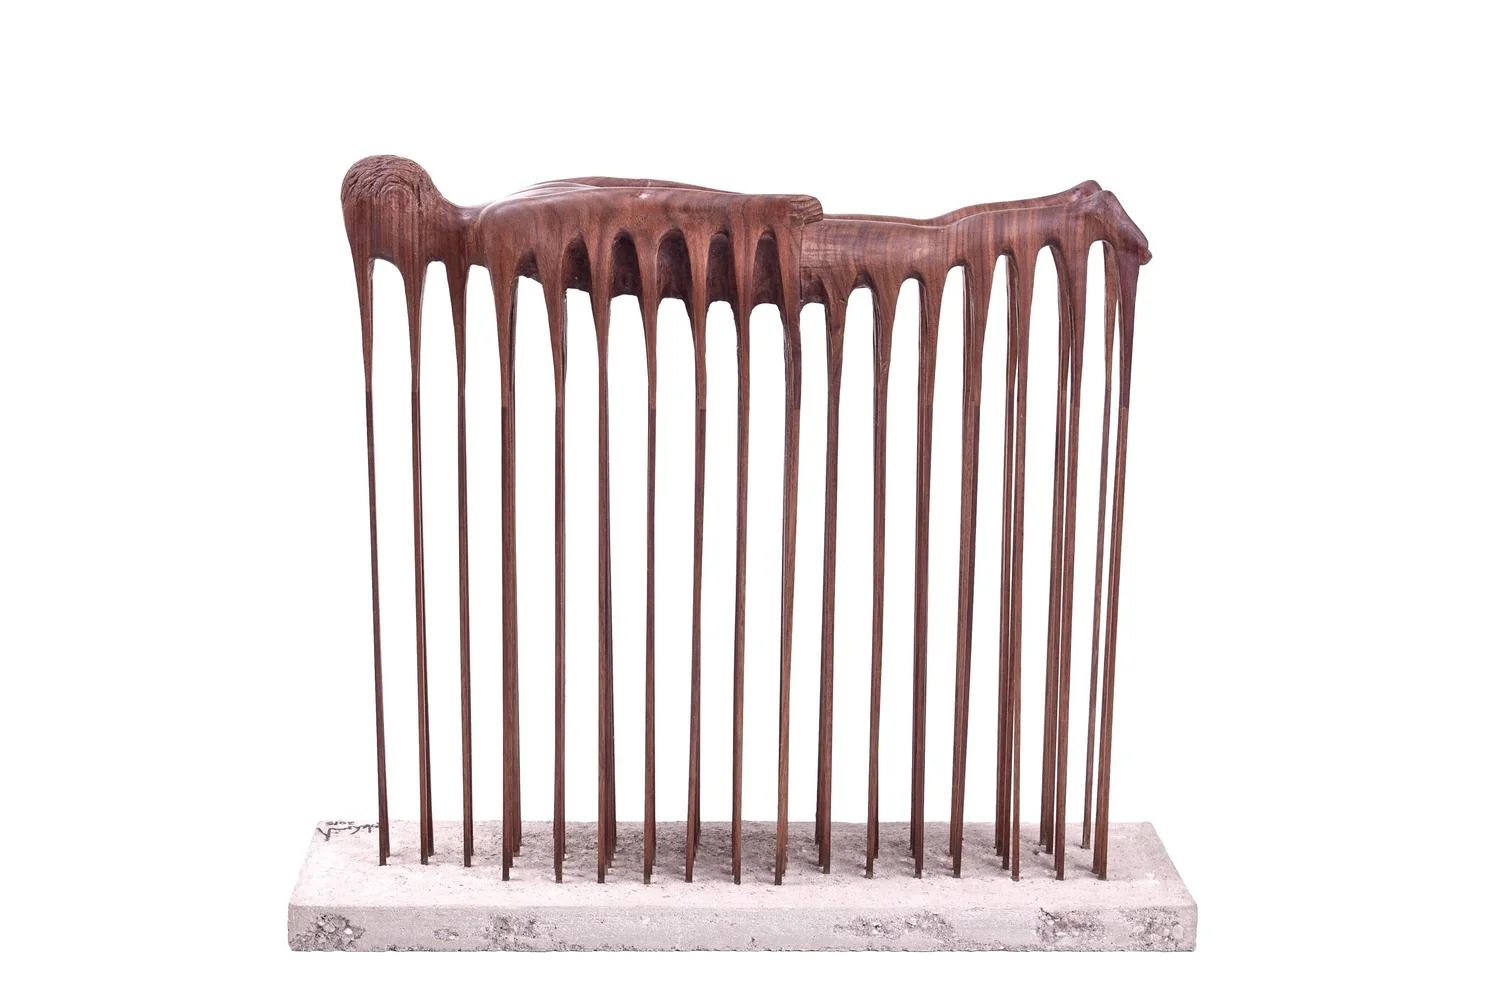
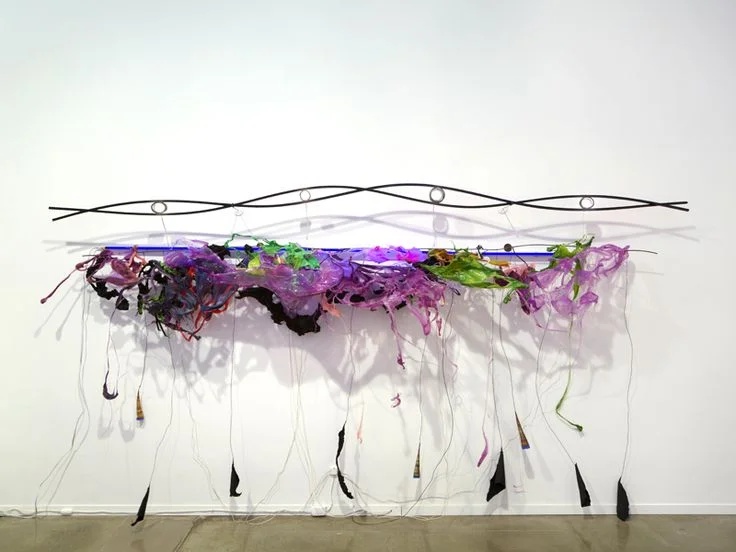
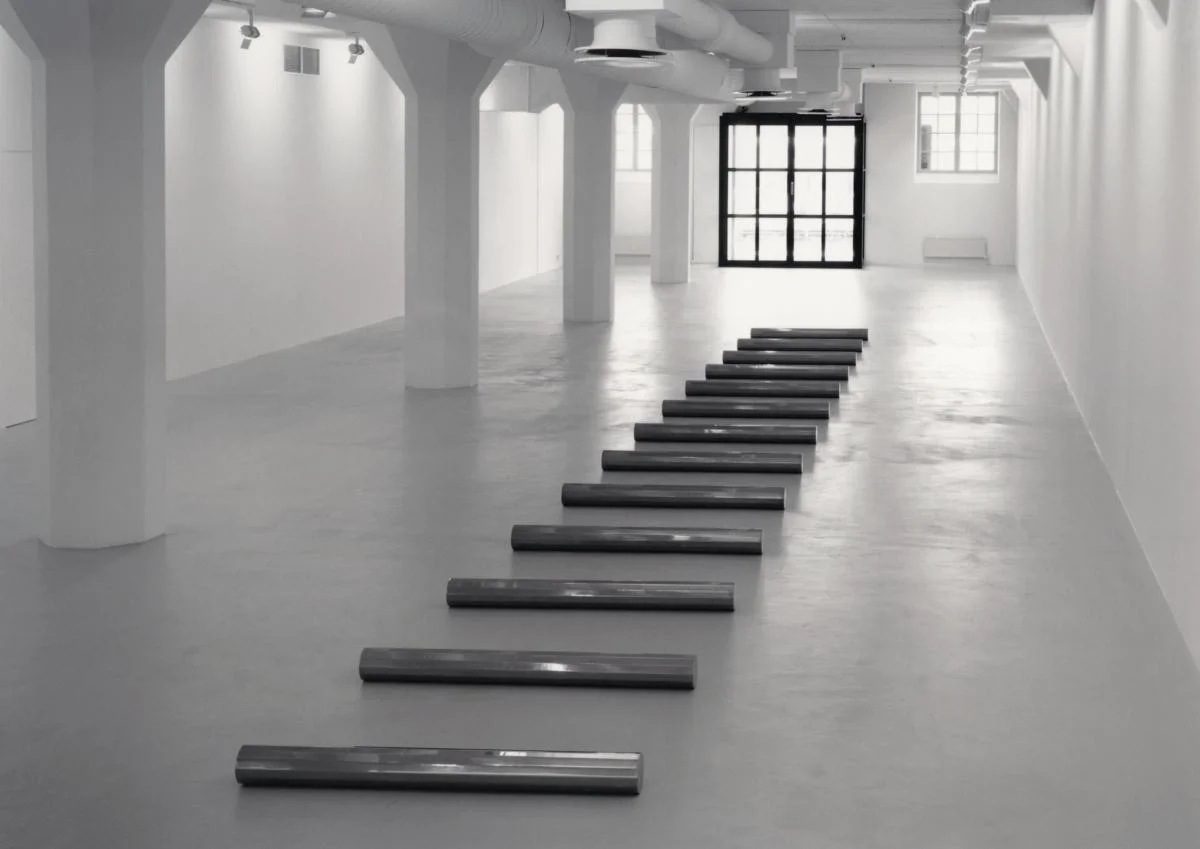
The following images demonstrate the terms we talked about in class this morning: Asymmetry, Buoyancy, Implied Movement and Repetition. Keep in mind that these terms are not mutually exclusive and that one composition may be asymmetrical and involve repetition, or appear buoyant and imply movement, or incorporate all of those concepts at once.
(The term being exemplified is printed on the first image in the series. I'll work on adding the artists' names, but if there's one in particular you want to know more about, let me know.)


NOVEMBER 8
· Morning
- CRITIQUE OF PROJECT: MEMORY RECEPTACLE
- Review wire and clay compositions
· Afternoon
- Demo: Plaster mixing and modeling
- Cube >> Sphere
· Homework Assignment
- Bring plaster working materials and tools to next class
- Refine sphere.
- Make Clay bowling pin. NOTE: JUST MAKE THE PLAIN CLAY PIN ACCORDING TO THE DIMENSIONS; DON'T INTRODUCE ANY SURFACE DESIGN.
- Dimensions: refer to spec sheet
- Bring half gallon carton back.
- Bring your clay working tools
NOVEMBER 15
· Morning
- Slide show: plaster work
- Demo: Mold making part 1: impression molds, plaster finishing
· Afternoon
- Mold making: impression molds
- Testing spheres
· Homework Assignment
ATTENTION: PLEASE READ NOTE BELOW ABOUT OUR MEETING ON NOVEMBER 22ND
- We'll be making molds of your clay bottles on Tuesday. This means you need to have sculpted your design (either a low relief or an impression) on to your clay bottle and have it ready for molding. Some things to consider when sculpting your design:
- Who is your audience/ demographic? What are their interests and sensibilities?
- How will what you sculpt relate to the form of the bottle or to the action of the game?
- This object will be presented in a group of 10. Your design should be complete as a singular object, but also interesting in a formation of 10.
- We are making two part plaster molds, so it's important that you not create "undercuts" (areas on your form that plaster can get caught under and make your mold lock or work poorly.)
- To be safe, carved recessions or raised areas should be no more than 1/4 inch deep or thick or they might get trapped in the mold. (There can possibly be exceptions to this, so if your design necessitates it, PLEASE SEND ME A SKETCH before Monday morning so I can let you know if it will work.)
- The dimensions of your bottle must correspond with the specifications on the hand out or it will not fit in the mold boxes we're making.
- Bring all your plaster and clay working tools to class.
- Bring an empty half gallon carton!
- Dress for the plaster room.
- Journals due for final grade December 6th
ATTENTION: PLEASE READ NOTE BELOW ABOUT OUR MEETING ON NOVEMBER 22ND
NOVEMBER 22
Hey folks.
This is probably going to be hard to imagine where you are, but I'm snowed in on the top of a mountain. I have a little cabin in a very remote part of the Catskills, and the snow really snuck up on me. We've gotten about 9 inches so far and it's supposed to keep snowing through Tuesday. My place is on a dirt road, so no one will be plowing it; I just have to wait until the temperatures warm up later in the week before I can get back to the city. There's no way I'm getting back in time for class on Tuesday morning. As much as I'm enjoying how gorgeous it is here, I'm really bummed that we won't be able to meet in person on Tuesday. We have so much to do and so little time left!
So here's what we need to do to get everything done before the end of the semester.
Today or tomorrow:
- Reply to let me know you got this message so that I don't start calling you!
- If you aren't already on skype, you'll need to download the app and set up a skype account. Request to add me as a contact. My skype name is taxicabdistance.
On Tuesday the 22nd, I'll skype with each of you individually so we can talk about your design approach and so that I can see your bowling pin prototype. YOUR BOWLING PIN RELIEF / RECESSED DESIGN SHOULD BE COMPLETE BY THIS TUESDAY MORNING. I want to be able to point out any undercuts so that you can correct them before we meet the week after Thanksgiving.
Meeting times for skype sessions this Tuesday. This is a required meeting and will count for your attendance that day. Please skype me promptly at your scheduled time. (Again, my name is taxicabdistance.) I will be standing by. Have your phone on hand in case we have a bad connection, so you can text me images of clay prototype.
10:00 Noah
10:15 Catherine
10:30 Lynn
10:45 Bailey
11:00 Amanda
11:15 Anna
11:30 Shavonne
12:00 Evelyn
2:00 Steven
2:15 Rebecca
2:30 Che
2:45 June
3:00 David
3:15 Angela
3:30 Shelley
3:45 Erik
Between this Tuesday the 22nd and next Tuesday the 29th, you'll need to:
- Make any modifications necessary to your bowling pin prototype after our skype meeting
- Finish the surface of your bowling ball prototype. (Are you going to paint it? Wax it? papier mache it? It should be complete when you come to class on the 29th.
On Tuesday the 29th, we'll need to make both the 2 part plaster molds AND do the wax castings in class. This is doable, but a lot to get done in one day, so I'm going to ask that unless you have class between 12:30 and 2:00, that you plan to stay through the break and work. I'll order pizza for lunch and we'll play some music and have an epic casting session. I'll also bring the wax so you don't have to deal with buying it / ordering it this week, but please bring $8.00 to reimburse me.
I think that's it. Please make sure everyone gets this message? I know there are some folks who don't always receive my emails. I'll post this on the website, too.
Apologies for the change in plans. I look forward to talking to you Tuesday!
George

road
NOVEMBER 29
Due:
- You should have made any modifications necessary to your bowling pin prototype after our skype meeting by the beginning of class.
- Your bowling ball prototype should be finished and painted or otherwise surfaced at the beginning of class. (SEE INSTRUCTIONS BELOW)
- Bring the following to class
- your bowling pin
- your finished bowling ball
- your 1/2 gallon milk carton
- clay working tools
- plaster working tools
- $8.00 for wax
We'll need to make both the 2 part plaster molds AND do the wax castings in class. This is doable, but a lot to get done in one day, so I'm going to ask that unless you have class between 12:30 and 2:00, that you plan to stay through the break and work. I'll order pizza for lunch and we'll play some music and have an epic casting session. I'll also bring the wax so you don't have to deal with buying it / ordering it this week, but please bring $8.00 to reimburse me.
Finishing the surface of your bowling ball:
- Note: You aren't limited to one color for the ball, just for the pins. (But it's also fine to use one color.)
- Note: You're also allowed to paint areas that aren't sculpted into your ball. (But you're not required to.)
- INSTRUCTIONS: You can seal plaster with shellac or gesso
- Shellac: Brush the ball with a light coat of shellac (doesn't matter if it's amber or clear), when the shellac is totally dry, you can paint the plaster ball with oil based OR acrylic paints.
- Gesso: Brush the ball with several coats of gesso. You may want to sand the coats after they are dry so that you have a smooth surface.
- You can also apply papier mache to the ball if that works for your design.
- If you want a glossier surface, you can apply a finish to change the sheen:
- Shellac will give a very glossy finish. amber shellac will give a kind of antique finish, clear shellac a little less so.
- You can buy brush on acrylic varnishes at Blick with various finishes: matt, satin, semi-gloss or glossy. You can also buy a spray-on finish, but you'll need to apply those outside.
DECEMBER 6 (wax casting)
BRING TO CLASS :
- $8.00 FOR WAX
- YOUR BOWLING BALL - COMPLETELY FINISHED / PAINTED
- YOUR PLASTER MOLD FOR YOUR BOWLING PIN
- A BUCKET THAT YOUR MOLD WILL FIT IN WHEN IT IT IS STANDING UPRIGHT
- ACRYLIC PAINTS AND PAINT BRUSHES FOR PAINTING YOUR BOWLING PIN
- YOUR WIRE ASSIGNMENTS TO DOCUMENT (AND GRADE)
- YOUR PROCESS BOOK TO BE GRADED
· Morning
o wax casting, painting
· Afternoon
o wax casting, painting
o process book to be reviewed for grade
DOCUMENTATION OF YOUR COMPLETE SET OF PAINTED PINS AND BOWLING BALL WILL NEED TO BE EMAILED AS PART OF YOUR PORTFOLIO FOR YOUR FINAL GRADE ON THIS PROJECT.